Steady Hum or Noise Floor? Removing Background Hum and Broadband Hiss from AI Tracks
The chorus hides it. The piano intro gives it away. Choose the cleanup tool by what the noise does between the notes.
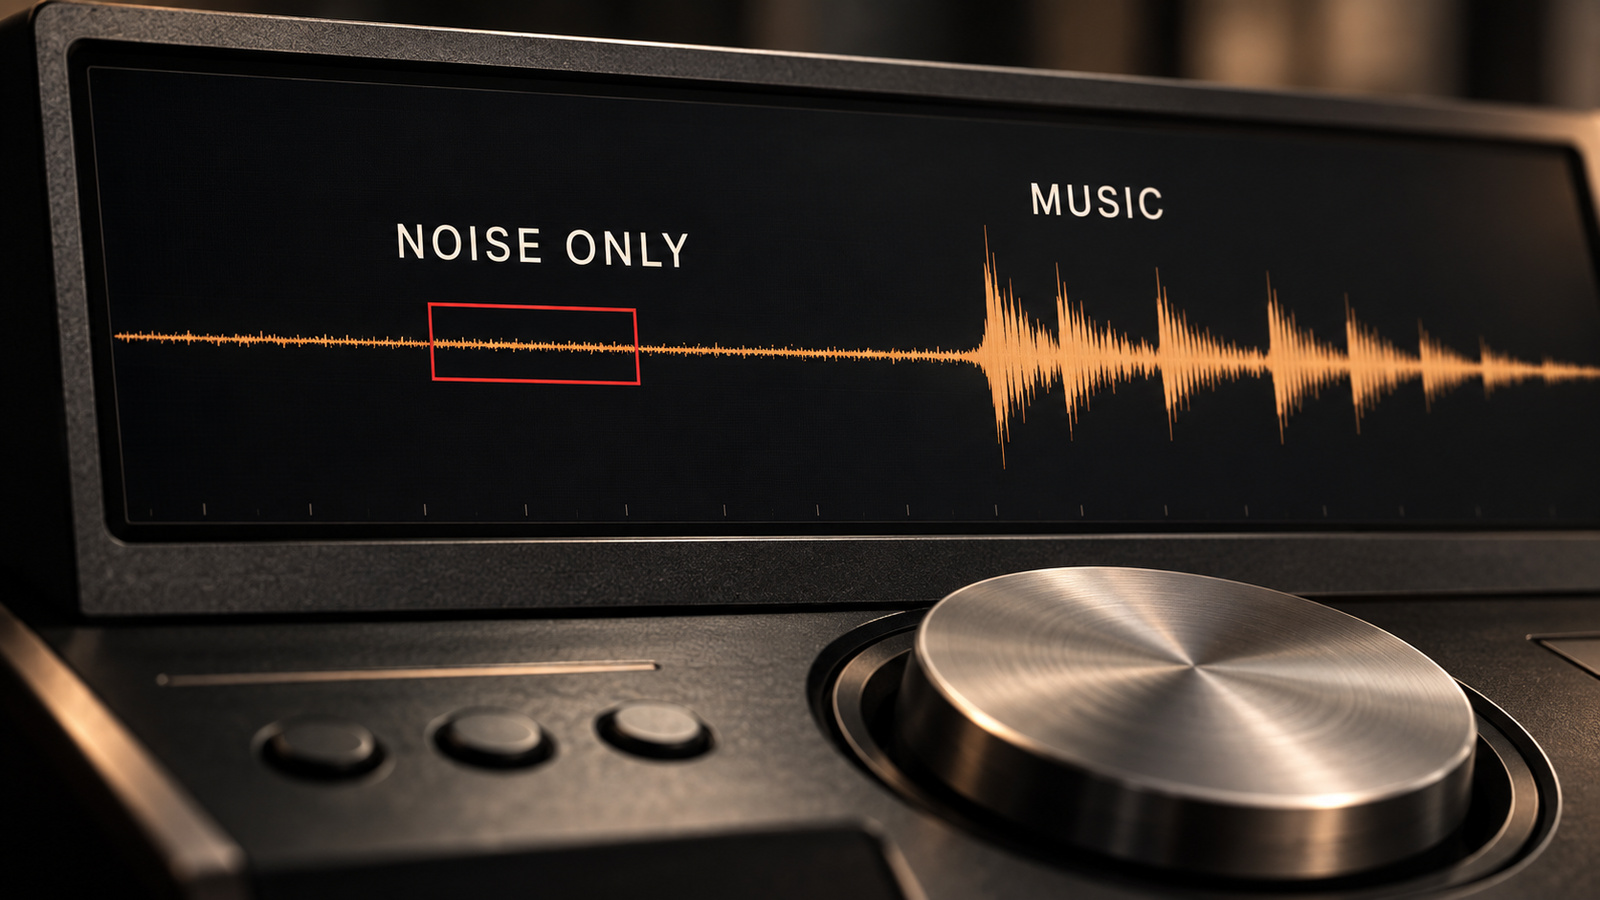
Your drums sound convincing, but a quiet intro reveals a constant shhh or a low drone. You need a lower noise floor without turning the piano into water.
A noise floor is the background sound beneath the music. Listen through an intro, a pause, and a fading note. If the bright texture bends with the notes, use the listening test for hiss versus metallic shimmer. A steady bed of noise needs a different approach.
Keep the original WAV or highest-quality export untouched and work on a copy. If several defects overlap, start with the 30-second audio triage guide. Do not assume a generated song contains electrical hum just because you hear a bass note.
01 / Listen before filtering
Three Stationary Noise Types in AI Exports
1. Sub-35 Hz Rumble and DC Offset
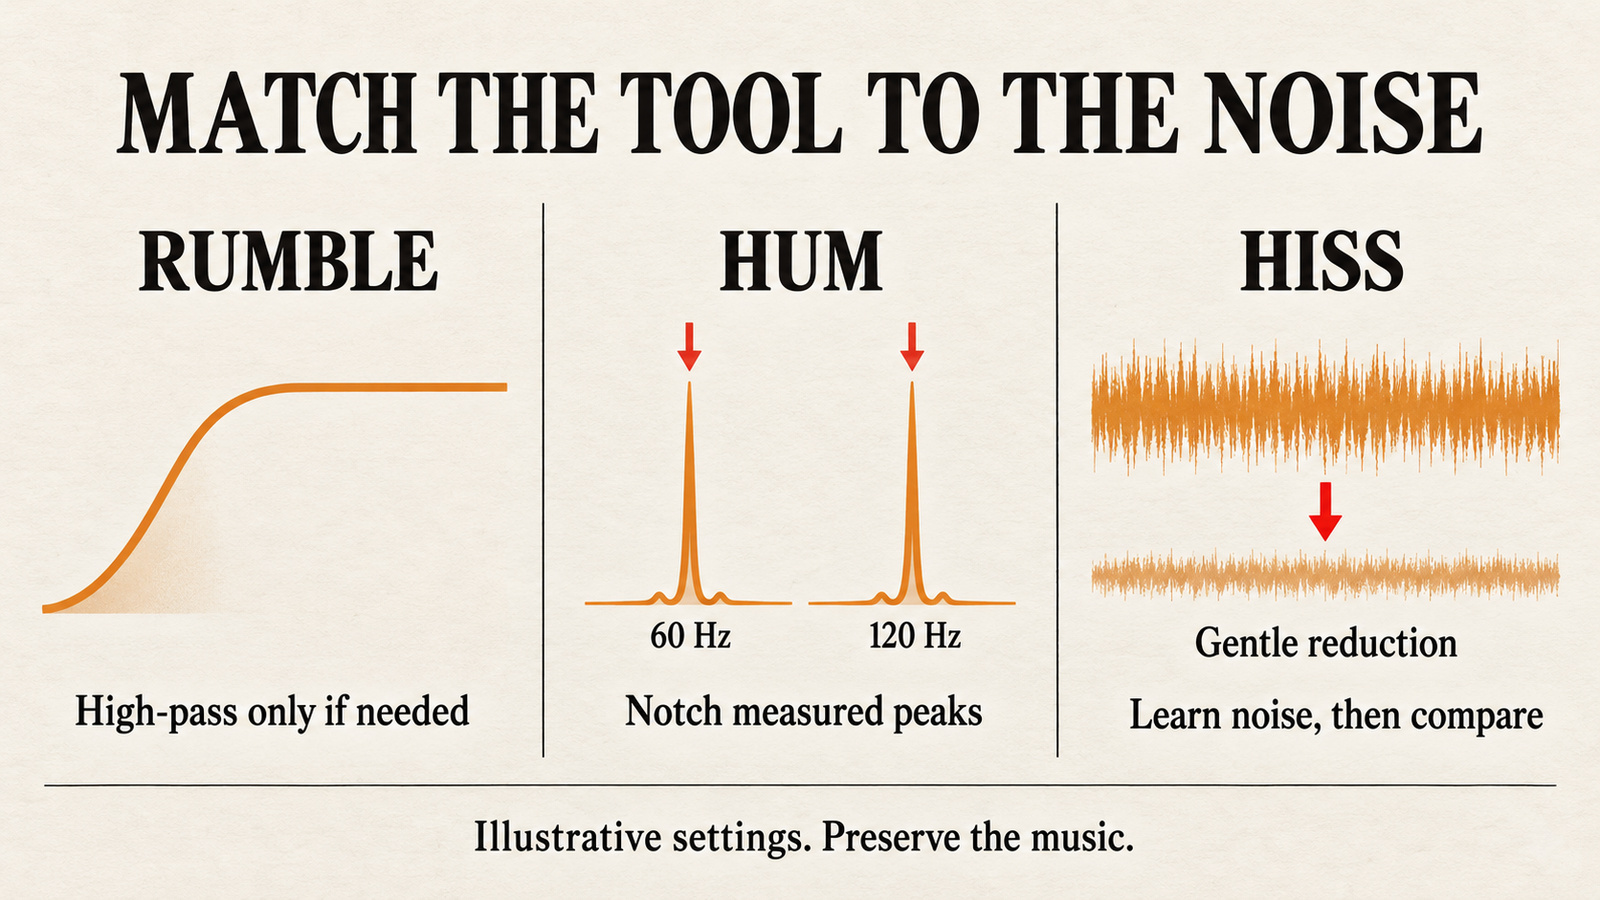
Look for low-frequency energy that continues through a musical gap. A high-pass filter reduces content below its cutoff; it can help if that content is unwanted rumble. It also affects musical sub-bass. A sustained low note is not waste just because a small speaker cannot play it.
DC offset is a shift of the waveform away from its zero center, not a 30 Hz tone. In Audacity, Normalize can remove the offset with level normalization unchecked. Inspect the waveform before choosing that operation; use the DC offset explanation to distinguish it from rumble. Check the source again through the pre-mastering source gate before adding a limiter.
2. Tonal 50/60 Hz Hum and Fixed Drone Harmonics
Hum has a pitched quality. On a spectrogram with time running left to right, a persistent tone appears as a horizontal line. Compare the gap with several different chords: a note that follows the bass part is a poor candidate for a permanent cut.
For a 60 Hz hum, inspect 120 and 180 Hz too; for 50 Hz, inspect 100 and 150 Hz. Cut only peaks you actually find. These are harmonic examples, not proof of where the sound came from. The Audacity Notch Filter manual explains the trade-off: a higher Q narrows the cut, so accurate frequency placement matters.
3. Broadband White or Pink Hiss in Intros and Tails
Broadband hiss sounds like spray or air spread over a range, rather than one ringing note. White and pink describe different spectral balances; neither is a diagnosis of a generator. Do not restrict your search to a fixed 4 kHz boundary. Listen to the actual quiet passage and locate where the distraction sits.
A spectral denoiser estimates the background spectrum and reduces it within the signal. An expander lowers the whole signal when it falls below a threshold. That difference matters: expansion can tidy gaps, while hiss under a held note needs another decision.
02 / Match the treatment
The Noise Floor Reduction Routing Table
Choose one row before adding a processor. These settings are listening experiments, not safety limits. You can damage a delicate tail with less processing than any number in the table.
| Stationary defect | Where to check | First experiment | Stop or undo when |
|---|---|---|---|
| Sub-bass rumble | Unwanted energy around 15–35 Hz, including gaps | If needed, trial a 28–32 Hz high-pass at 24 dB/oct; lower the cutoff if the song needs that range | Kick weight or sustained sub-bass weakens; bypass does not reveal an actual improvement |
| Tonal hum | A fixed peak near 50/60 Hz and any measured harmonics | Use a narrow notch at the measured peak. In a parametric EQ, trial a small cut before increasing its depth | Bass notes lose body, or the suspected hum moves with the music |
| Hiss between phrases | Gaps below the level of the quietest wanted phrase | Trial downward expansion at 1.5:1 with attenuation limited to 4–6 dB; set threshold and release by ear | Breaths disappear, stereo image shifts, or decays pump. It does not remove hiss under a louder note |
| Continuous intro or outro hiss | Broad noise present beneath a quiet musical passage | Learn a noise-only profile and preview about 6 dB reduction; try less before considering 6–8 dB | Watery tones appear, consonants smear, or the piano becomes dull |
A notch cannot lower a broad hiss bed. A high-pass cannot distinguish rumble from a bass instrument sharing its range. Spectral processing is more selective, but a cleaner-looking display is not a reason to keep a worse-sounding take.
03 / Work on a copy
Step-by-Step: Clean the Noise Floor Without Watery Artifacts
Step 1: High-Pass Only Unwanted Rumble and Notch Fixed Hum
Loop a quiet gap beside a bass-heavy phrase. If you find unwanted low rumble, preview the low high-pass setting from the table and toggle bypass. Keep the filter only if it reduces the distraction while preserving the bass. For a closer look at low peaks, increase the spectrum analyzer resolution; an FFT size of 8192 is one useful trial, not a required measurement standard.
Next locate a fixed hum peak and place a narrow cut on it. Add another only for an audible, measured harmonic. Start shallow when your EQ allows adjustable depth. A dedicated notch filter may offer frequency and Q without a gain control; do not look for a depth knob that your tool does not have.
Step 2: Capture a Pure Noise Print Without a Musical Tail
A noise print teaches the denoiser which background spectrum to suppress. Choose a gap with the same hiss as the passage you want to fix. A clean 0.5–1.5 seconds is a practical search target, not a universal minimum. Solo the selection: a fading chord, breath, or cymbal tail is wanted audio, even if the waveform looks tiny.
In Audacity, select the noise-only interval, open Noise Reduction, and choose Get Noise Profile. Then select the affected passage and reopen the effect to preview. Follow the Noise Reduction manual for its controls. In RX Spectral De-noise, Learn serves the profile-capture role; the RX module documentation explains manual and adaptive operation.
No clean gap? Do not teach a sustained piano note as noise. Try level automation in empty gaps, leave the continuous hiss, or test adaptive learning if your tool provides it. Where frequency-selective processing is available, restrict a small trial to the noisy band. Listen for lost cymbals and vocal air; an adaptive mode still needs supervision.
Step 3: Trial 6–8 dB Spectral Reduction, Then Consider an Expander
Start around 6 dB and compare with less. Treat 6–8 dB as a trial range, not a promise of transparency. There is no universal dB threshold at which musical noise begins: the recording, profile, algorithm, and other controls all matter. If the hiss becomes less distracting but the notes remain intact, there may be no reason to push further.
If only the gaps still bother you, test an expander after that pass. A 1.5:1 ratio with a 4–6 dB maximum range is a restrained starting experiment. Set the threshold below quiet wanted notes and lengthen release until the tail fades naturally. Keep stereo channels linked where available so one side does not close while the other stays open. The Noise Gate manual explains threshold, limited attenuation, and closing time.
Adding the second processor is optional. Expansion also turns down wanted quiet audio and does not clean hiss while the signal keeps it open. Compare the denoiser alone with the combined chain; remove the expander if the breathing background draws more attention than the original hiss.
Step 4: Audition the Removed Signal, Then Return to the Song
Use Residue in Audacity or Output Noise Only in RX at a comfortable listening level. You want mostly the unwanted noise, not recognizable lyrics, a piano melody, or the hi-hat groove. If music is being removed, reduce suppression or sensitivity and reconsider the profile. Hearing little music in this monitor is useful evidence, but the normal output still decides.
Turn noise-only monitoring off and run the blind level-matched comparison protocol. Check the intro, a full chorus, and the final decay. If you process only one section, audition both joins for a jump in ambience or level. Use the five-test audio cleaner audition before keeping a longer chain.
Keep the quieter flaw
A little steady hiss can be less distracting than a moving, watery tail. Stop when the next cut costs more music than it saves.
04 / Questions from the quiet parts
Frequently Asked Questions
Why does my AI song sound underwater after noise reduction?
Heavy suppression or a poorly matched noise profile can leave warbling tones and blur musical detail. There is no universal dB threshold where this begins. Reduce the amount, relearn a noise-only profile if available, and compare the quiet tail with the original at matched loudness. Keep some hiss if removing it damages the music.
Should I use a noise gate to remove hiss from AI vocals?
A gate can lower noise between phrases, but it cannot separate hiss from a vocal while both are sounding. Try gentle downward expansion first: a 1.5:1 ratio and a maximum 4–6 dB attenuation are trial settings, not a preset for every voice. Lower the threshold and lengthen the release if breaths or reverb tails vanish.
How do I remove vinyl crackle that the AI generator added on purpose?
Clicks and crackle are brief impulses, not a steady noise floor. Preview a de-click or de-crackle tool on a copy of the affected section. Raise sensitivity only until the distraction improves, then check snare hits, pick attacks, and consonants. If the texture is part of the arrangement, keeping it or generating a different passage may preserve more of the song.
If the noise belongs to a vocal stem, use the stems-or-stereo repair guide to choose the working file. Check transient preservation when using De-click or De-crackle; a denoiser profile is not a substitute for impulse repair.
Your next move
Find one gap. Keep one tail.
Choose the quiet passage where noise distracts you, save the original, and try one treatment. Keep the change only if the phrase still sounds like itself when the music fades.
Choose the first treatment