Fixing Stable Audio Exports: Transient Smear, Stereo Wash, and Loop Seams
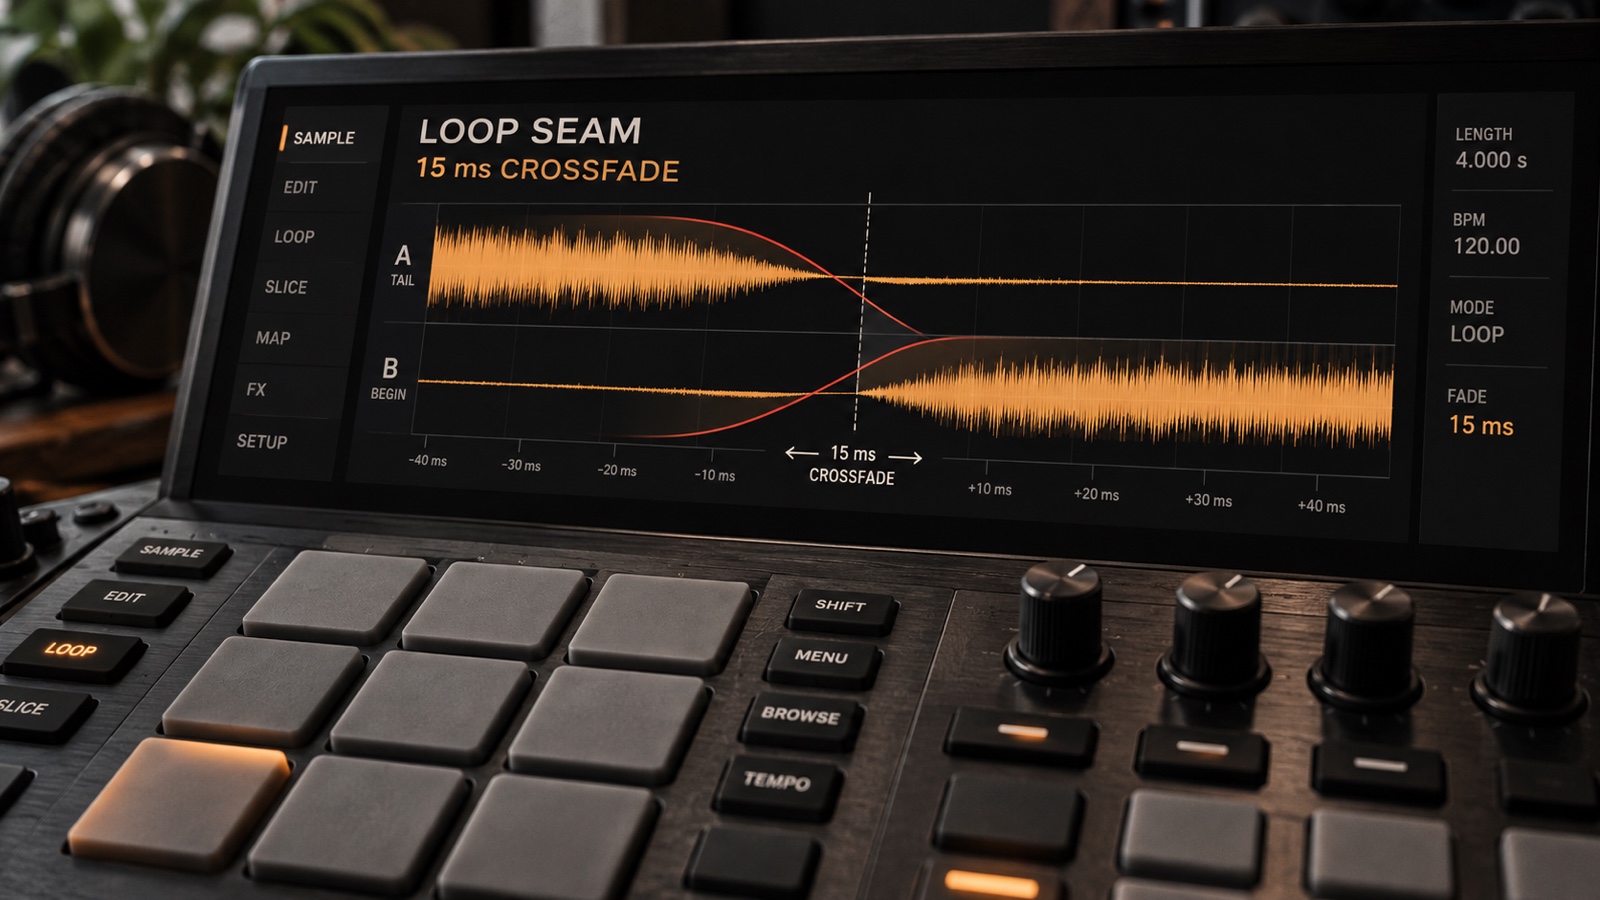
Your drum break has the right rhythm, but the snare lands softly. A synth pad leaves a fizzy cloud at the edges. Or a useful four-bar idea clicks every time it repeats. Those are three different editing jobs; one aggressive noise-removal pass is unlikely to suit all three.
This workflow is for an existing Stable Audio instrumental, sample, or loop in your DAW. Keep the original file and label whether each part was generated separately or extracted from a mix. Start with the 30-second audio triage guide if the main problem is still unclear; use the existing Udio file check for another stereo-export workflow.
01 / Listen before diagnosing
The Acoustic Signature of Latent Diffusion Audio Exports
Stability AI's Stable Audio research describes generation in a compressed audio representation, followed by decoding to a waveform. That architecture alone does not establish the cause of a soft drum hit or a noisy tail in your file. Use the audible symptom to choose the edit.
1. Softened Drum Attacks and Pre-Ringing Transients
A transient is the brief onset that makes a kick or snare feel immediate. Loop a few isolated hits and listen for a weak initial snap, then zoom in to inspect the onset. Sound arriving just before the main hit may resemble pre-ringing; check the unprocessed export before blaming the source, because your processing can also change the onset.
A high-frequency boost lifts everything in that band, including cymbal wash. A transient shaper instead changes the balance between the initial hit and the sound after it. It can emphasize surviving attack detail; it cannot recreate a missing performance.
2. Swirling Stereo Wash in the Side Channel (8–14 kHz)
Listen to a sustained chord and its decay. Does the distracting fizz move around the stereo image, or is it steady hiss? Start with diagnosing hiss versus metallic shimmer. The 8–14 kHz range is a place to inspect when the distraction is high and airy, not a fixed noise band shared by every Stable Audio export.
The Side signal is the difference between left and right channels. Solo it briefly if your tool supports this, then restore full stereo: isolated Side audio can sound strange even in a good mix. FabFilter's Pro-Q manual documents separate Mid and Side EQ. Use that control only if the unwanted tail is actually stronger there; a narrow Side cut will not repair a part that disappears in mono. Follow fixing mono compatibility and phase issues when the stereo-to-mono change is the main problem.
3. Abrupt Tail Cutoffs and Non-Zero Loop Boundaries
A click at every repeat points toward the join. A longer swish or sudden dry patch suggests that the ending ambience does not continue naturally into the beginning. Confirm the phrase length against your session grid rather than assuming that a BPM in the prompt guarantees a bar-aligned loop.
Audacity's zero-crossing guidance explains how edits near the waveform's center line can reduce clicks. It also notes that left and right channels may cross zero at different times. Keep the stereo pair synchronized and audition both channels; a tidy-looking edit in one channel is only half the check.
02 / One symptom, one trial
The Stable Audio Cleanup Routing Table
Use these settings as a starting point on a duplicate. Values describe audition ranges, not measured Stable Audio defects or a preset to apply to every track. Leave a clean pad alone even if a drum loop needed work.
| Audible defect | Frequency / time zone | Targeted DAW move | What to avoid / when to undo |
|---|---|---|---|
| Soft, pillowy drum hits | Inspect 80–120 Hz for body and 1.5–4.5 kHz for snap | Try +2 to +3 dB mid-band Attack if your shaper uses dB; leave the low band unchanged first | Undo if hats become spitty, peaks overload, or the groove turns brittle |
| Noisy tail after hits | Inspect sustain around 7–14 kHz | Try -3 dB high-band Sustain; audition up to -5 dB only if a smaller trim helps | A hard gate may truncate ambience; undo a sustain trim that cuts useful cymbal decay |
| Wide, phasey stereo haze | Check Side below 120 Hz and above 9 kHz only where the symptom occurs | Audition a Side high-pass near 120 Hz for unstable bass, or up to -2 dB dynamic Side shelf above 9 kHz for high wash | Do not apply both automatically or collapse the whole pad to mono; undo if weight or width suffers |
| Click or jump at loop point | Beginning ↔ exact musical loop end | Choose a low-amplitude join and trial a 10–25 ms crossfade; overlap a usable decay if available | Do not shorten the bar grid or double the first kick; change the curve if the join swells |
03 / Keep the groove intact
Step-by-Step Workflow for Stems, Samples, and Loops
Step 1: Check Headroom and Low-End Mono Before Processing
Save an untouched copy, bypass inserts, and loop the passage at its intended tempo. Check peaks before the first processor. If they leave little room, start with -3 dB clip gain and meter again after each move; boosted attacks and overlapping tails may need more room.
Switch briefly to mono and back. Listen for the kick and bass losing weight, then check whether a Side bass cut helps in stereo without making the mix thin. Follow the 5-point pre-mastering source gate before adding final loudness processing.
Step 2: Reshape Transients by Band, Not Across the Whole Spectrum
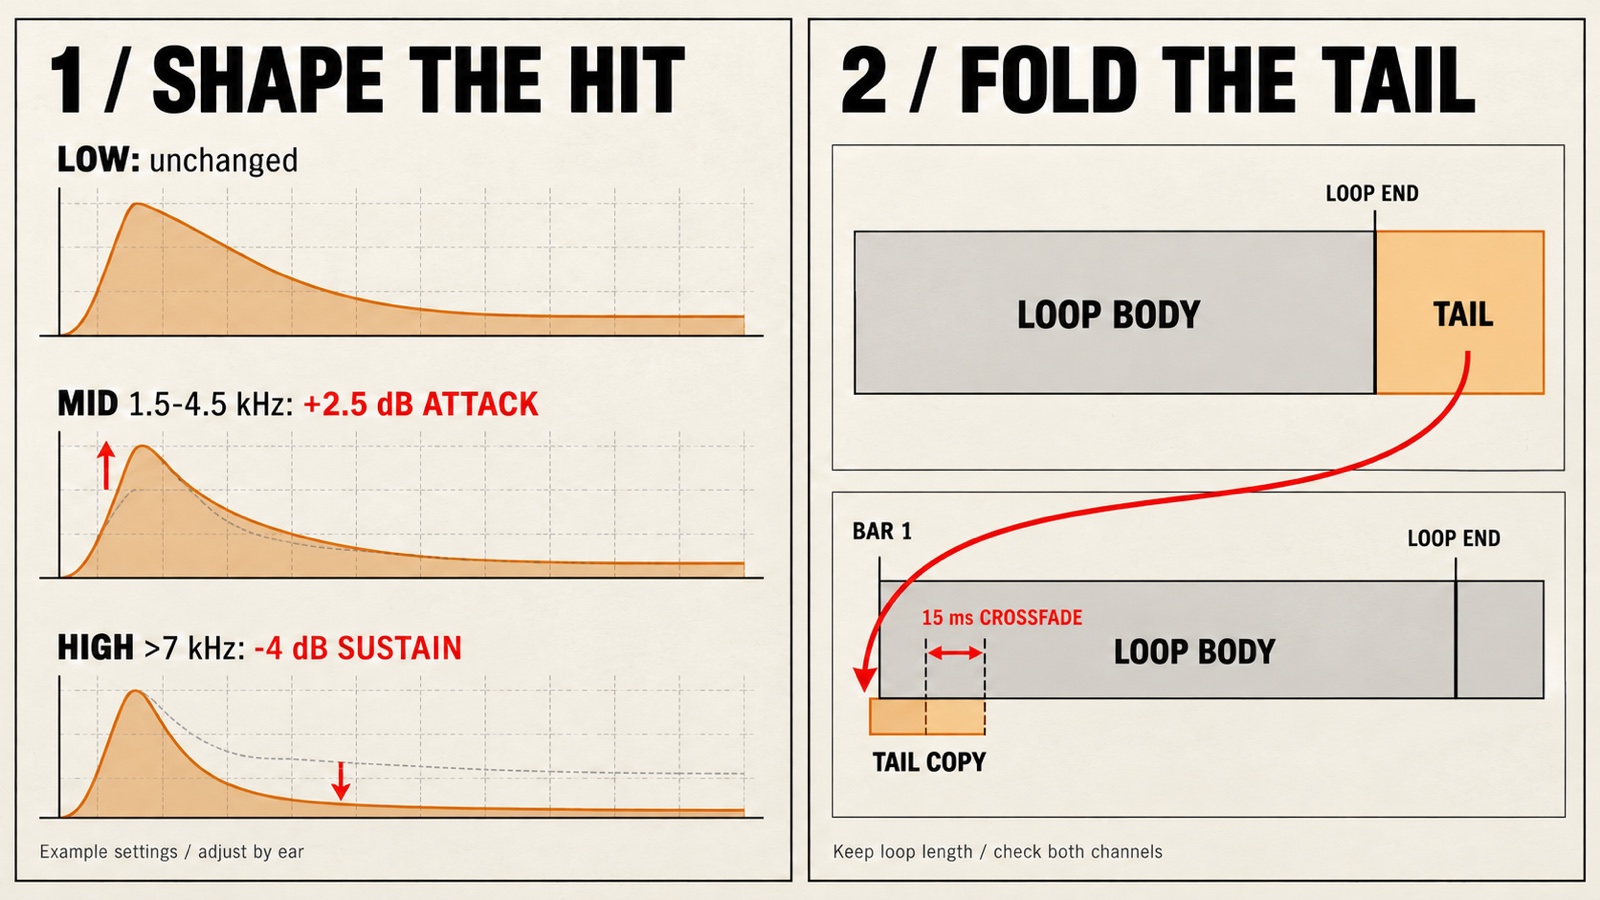
Use a multiband transient shaper when the drum attack needs a lift but the high tail does not. iZotope's Transient Shaper documentation describes per-band Attack and Sustain controls. Choose crossover points around the useful hit: for example, isolate 1.5–4.5 kHz for a small attack lift and a separate band above 7 kHz for a sustain trim. Keep the intervening band neutral.
Begin with about +2 dB Attack in the mid band and -3 dB Sustain in the high band where the interface uses dB. Other tools use percentages or different scales, so copy the listening goal rather than the number. Bypass each band separately and recheck output peaks.
If the snare only gets harder while the soft onset remains, stop increasing Attack. If the tail still swirls, compare a gentle dynamic EQ move in the affected Side band instead of shortening every decay. The snare does not need to win an argument with the hi-hat.
Step 3: Build a Seamless Loop with Tail Folding
Set the exact loop length first: four bars of 4/4 at 120 BPM lasts eight seconds. Mark that selection and preserve it through the edit. Crossfading by simply sliding one whole loop over another can shorten the phrase and move every later downbeat.
Audacity's crossfade guide explains overlapping audio with opposing fades. For tail folding, keep the loop body in place. If the file contains a clean decay after the marked loop end, copy that post-boundary tail onto a separate layer starting at bar 1. Keep both stereo channels together and fade the copied layer out as its decay ends. Do not copy the last half-bar of active drums: that would add old hits at the beginning.
Where a join still jumps, adjust a short local overlap around low-amplitude audio, protecting the first downbeat. Try 10–25 ms, or shorter if an attack blurs. Compare an equal-power curve with a constant-gain curve: Audacity's fade-shape documentation warns that constant-power fades can raise peaks. Similar overlapping material can swell; listen and meter rather than choosing the curve by name.
If the export ends abruptly with no usable decay, tail folding cannot recover that missing ambience. Try a different quiet join or another source; a small added reverb is a new effect, not a recovered tail. For a pad, a longer overlap may sound smoother, but reject it if harmony changes or the loop breathes in level.
Step 4: Audition the Loop in Context and Level-Match
Render only the marked loop region to a new file, reimport it, and repeat it several times on the session grid. Listen across every join, including the first pass from silence. Tail folding can smooth repeated playback while making a standalone opening too wet; save separate one-shot and looping versions if needed.
Use the blind level-matched comparison protocol to compare the same passage. Check snare snap, cymbal decay, bass weight, and stereo width, then listen with the other instruments playing. Record the source, loop length, settings, and keep/undo decision in a repeatable export repair log.
Keep the repair only if the loop repeats cleanly, its first hit stays intact, and the music still works at equal loudness. A different take is often the useful next comparison when shaping and seam edits cannot rescue the performance.
04 / FAQ
Frequently Asked Questions
Why does boosting high frequencies on a Stable Audio drum loop make it sound sandy?
A high shelf raises the noise and cymbal tail along with the useful attack. Find the part of the hit that needs definition first. Try a small attack increase around 1.5–4.5 kHz, then compare at matched loudness. Reduce high-band sustain only if that tail is the distraction; undo the change if cymbals become unnaturally short.
Should I run stem separation on an instrumental Stable Audio track?
Try separation only when one part needs a change that would damage the full mix. Compare the separated parts summed together against the original before processing them. A newly generated isolated drum or pad part is another performance, not an extracted original stem, and it is not automatically cleaner. Keep the version with fewer audible trade-offs.
How long should a crossfade be to stop a loop from clicking?
Try 5–15 ms around a drum-loop seam without fading away the first hit. Pads may allow a longer 50–150 ms overlap. These are listening starting points, not fixed rules: check both stereo channels, keep the exact loop length, and adjust the position and curve if the seam clicks, dips, swells, or doubles an attack.
Before committing to separated parts, use the stems-or-stereo repair test to compare them with the intact mix.
Keep the useful sample
Sharper hits. A quieter seam.
Choose the smallest edit that helps this export. Save the source and the loop-ready version so the next session starts with a musical choice.
Return to the routing table ↑