Cleaning Up BandLab SongStarter and AI Tracks Without Over-Processing
Your loop has a good hook. Give the vocal room before asking another preset to finish the mix.
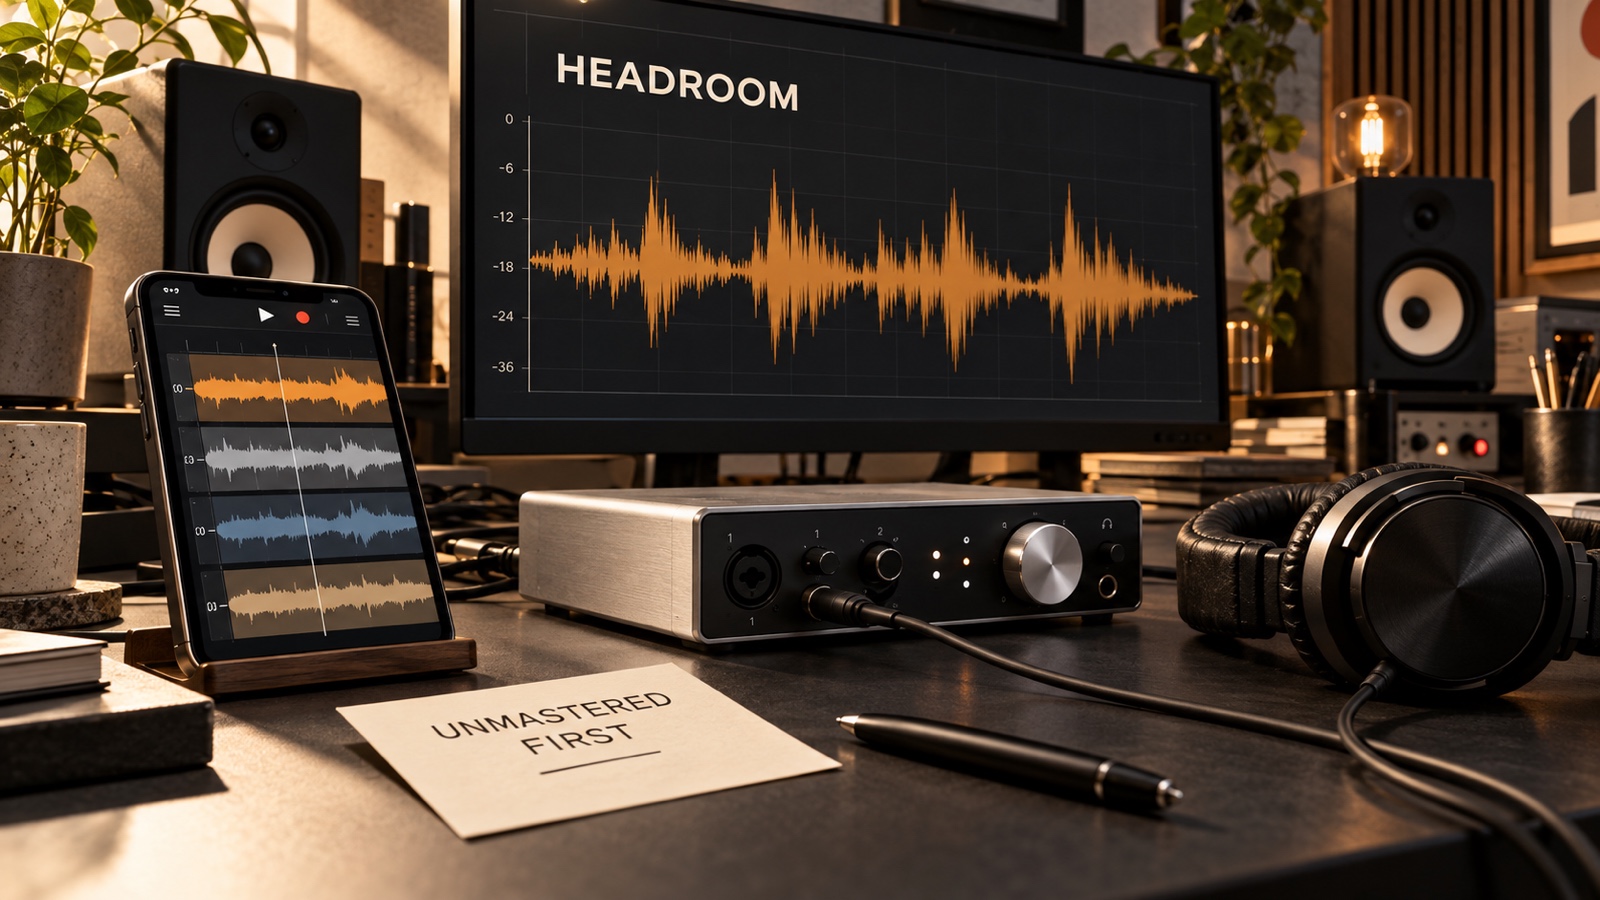
You might be combining a SongStarter idea with a phone-recorded vocal, or importing a finished AI demo into Studio. Those sources need different checks. SongStarter lets you open an idea in Studio; an imported stereo song may already have loudness processing baked in. If you cannot name the distraction yet, use the 30-second audio triage guide.
01 / Find the stage
The BandLab Preset Trap: When More Processing Hides the Problem
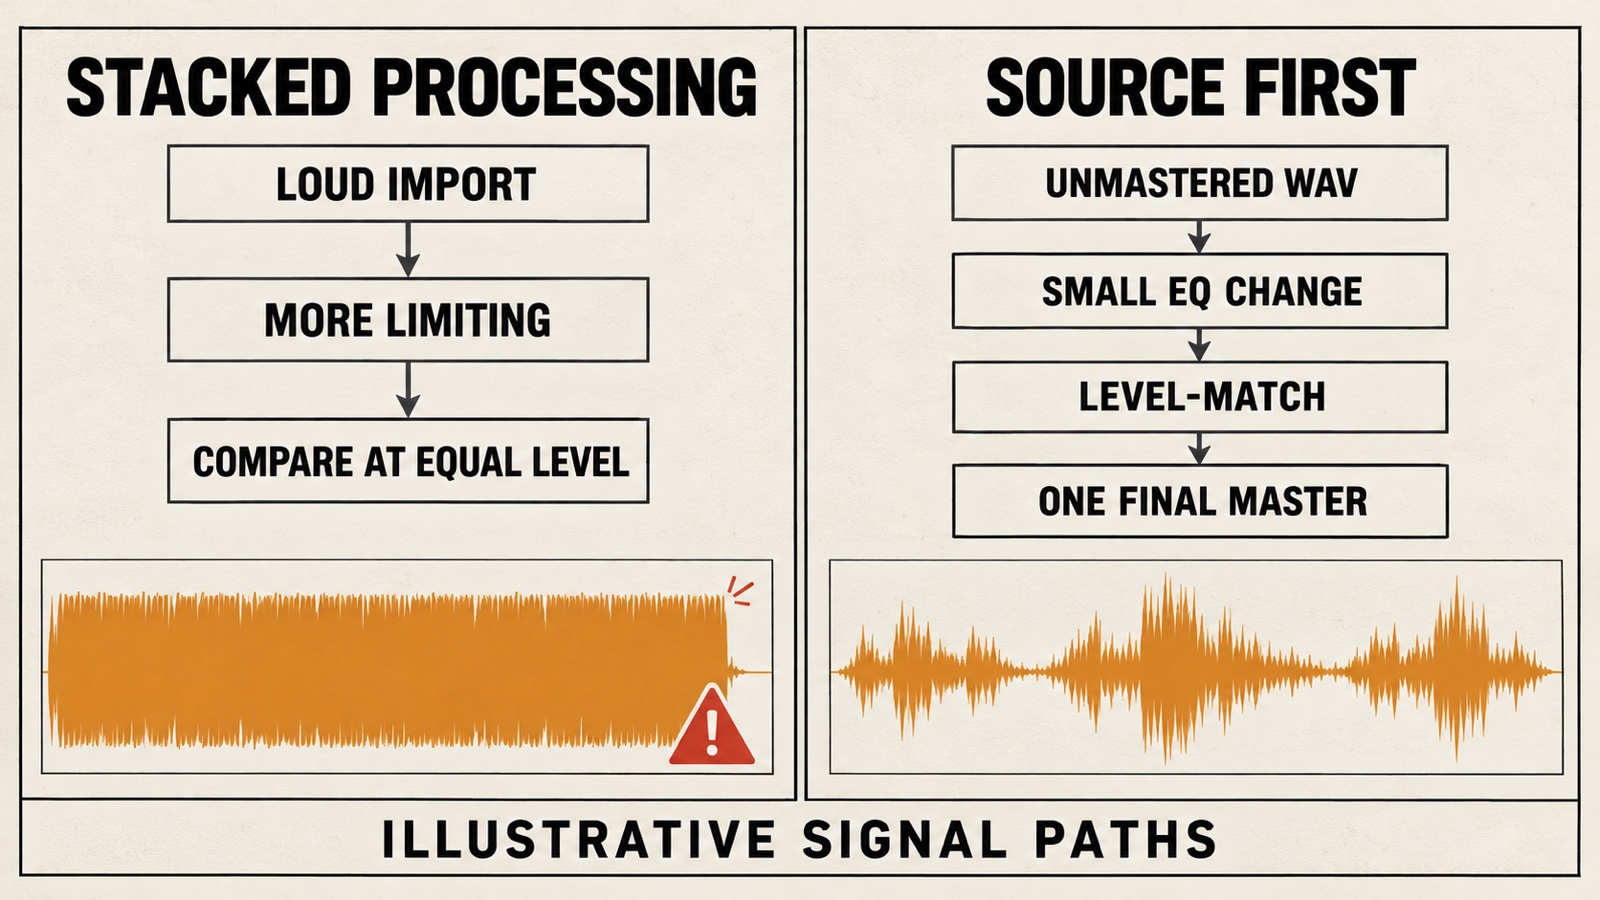
1. Re-mastering an already loud import
Compare the downloaded source with the processed version at equal perceived loudness. If the latter loses snare attack or brings out a glassy tail, bypass the added stage and listen again. This can happen with stacked processing; it is not a measured property of every BandLab preset.
Universal, Fire, Clarity, and Tape are among BandLab's documented mastering options. Their names do not tell you which will preserve this song. A brighter version may also make existing hiss or ringing easier to hear: use diagnosing hiss versus metallic shimmer before treating both as background noise.
2. SongStarter loop masking in the low mids
A chord loop and vocal can compete for the same space, making the words hard to follow even when neither track clips. That is masking. Lower the backing part first. The 250–450 Hz region is one place to investigate for boxiness, not a defect built into SongStarter. Use unmasking a muddy AI mix if the voice remains buried.
3. Splitter bleed and AutoPitch edge
Bleed is unwanted sound from another part, such as cymbals remaining in a separated vocal. Compression or tuning may make it more distracting. Compare the stem with its effects bypassed, then enable each effect separately. A watery tail does not establish which algorithm caused it; keep the cleanest usable source.
02 / Audit four stages
The BandLab Module Audit Matrix
Save a revision, loop a short vocal phrase and a busy chorus, and test one stage at a time. These are listening decisions, not fixed settings for every project.
| BandLab feature / stage | Possible failure mode | Audible symptom | Cleaner workflow decision |
|---|---|---|---|
| Mastering: Universal, Fire, Clarity, Tape | Another loudness pass on an already dense mix | Less drum attack or more prominent ringing | Keep an unmastered baseline; use the 5-point pre-mastering gate |
| BandLab Splitter | Large EQ or compression changes reveal separation residue | Watery tails or cymbal bleed in the vocal | Compare summed stems with stereo using stems-or-stereo repair |
| Region Denoise | Noise reduction removes useful vocal detail | Missing consonants or chopped breaths | Try once on a copy, undo if worse, and run the S-sound test |
| SongStarter parts in Studio | Backing loops compete with the vocal | Boxy accompaniment hides words | Lower the competing part first; audition a small low-mid cut only if needed |
03 / Change one thing
Step-by-Step Cleanup Routine for BandLab AI Projects
Step 1: Export Unmastered WAV Tracks and Leave Headroom
Save the untouched revision before bypassing effects. In Studio on the web, choose Project → Download → Mixdown As for a mix, or Project → Download → Tracks for separate audio parts. For a diagnostic export, bypass optional track processing and AutoPitch on the copy, then listen to the downloaded file. “Unmastered” does not automatically mean free of track effects.
BandLab lists 16-bit WAV at 44.1 kHz for web mixdowns. Mobile mixdown formats differ; open the project on the web if you need this WAV route. The newer download guide also describes mobile track export as M4A/WAV/MIDI. Choose a format actually offered for your track and device, and do not rename an M4A file to WAV.
Leave headroom: space between the loudest peaks and the output ceiling. BandLab's mastering FAQ recommends a pre-master mix between -8 and -4 dB and avoiding heavy master-bus effects. Reduce levels before any stage that overloads, then check the export. Turning down a clipped recording cannot repair its flattened peaks. If that is the problem, use the distortion and clipping guide.
Step 2: Carve Space in SongStarter Loops Before Boosting the Vocal
With the whole arrangement playing, lower the competing chord or guitar part by 2–3 dB as a starting point. If the words become clearer, try a broad cut of about 2 dB near 300 Hz on that part. Move the band within roughly 250–400 Hz to find the actual overlap, and bypass it to check whether the groove lost weight.
Do not cut every track at the same frequency. Some voices need their lower range to sound full. On a microphone recording, audition a high-pass filter near 80 Hz only if rumble is audible; lower or remove it when useful vocal body disappears. Keep the cut only if the words become easier to follow in context.
Step 3: Separate Splitter Cleanup From Vocal Tuning
BandLab Splitter can open or download separated audio parts. Compare those parts playing together against the original before adjusting their balance. If a small vocal lift brings up swirling cymbals, try less separation-based editing or return to the stereo source.
For a noisy phone vocal, Denoise applies automatically to an audio region: right-click the region on web, or use the region's three-dot menu on mobile. Try it once on a copied region and use Undo if breaths or consonants suffer. It is not a continuously adjustable strength knob. For a new recording, reducing room noise and headphone spill at the source may give a better result.
Test tuning separately. AutoPitch provides a Level knob and key/scale selection. Select the correct key, reduce the amount, and compare sustained vowels and word endings with the bypassed version. Use repairing plastic and robotic AI vocals when the timbre remains distracting; more tuning will not remove bleed.
Step 4: Level-Match Any Mastering Preset Against the Raw Mix
Once the source passes the listening checks, compare one mastering pass with the cleaned unmastered mix. Turn down the louder version until both have similar perceived loudness; matching only the highest peak is not enough. Follow the blind level-matched comparison protocol and check snare attack, lyrics, and cymbal tails.
Try Universal or Tape as candidates, not winners. Keep the source if neither improves it. The preset is allowed to lose the audition. Finish with the 3-pass release readiness check on headphones, a small mono speaker, and a normal playback system. Save the chosen version separately so you can return to the clean source.
04 / FAQ
Frequently Asked Questions
Which BandLab Mastering preset is best for Suno or Udio tracks?
Keep the unmastered source as your baseline. No preset is best for every imported track. After cleanup, compare Universal or Tape with the source at matched loudness; keep a preset only if lyrics, drum attack, and high-frequency texture survive. Lowering the input does not undo limiting already printed into a file.
Does BandLab Splitter reduce audio quality?
Separation quality depends on the source. A separated part may contain bleed or a watery tail that was less obvious in the full mix. Compare the combined stems with the original at matched loudness, then try the smallest useful balance change. Return to stereo if separation creates more distraction than it solves.
How do I stop my BandLab vocal from sounding boxy over an AI beat?
Lower the backing loop first. If that helps, audition a broad cut of about 2 dB around 250–400 Hz on the competing instrument as a starting point. Move or remove the cut if the beat becomes thin. Filter microphone rumble only below useful vocal tone, and check the result with the whole arrangement playing.
Keep the hook
Make room before you make it louder.
Keep one source, one short comparison, and one useful edit. Stop when the vocal is clearer and the song still moves.
Return to the module audit ↑